
Background and stamped image with distress inks

Hello crafty people! :D
Devika here and today I will share how to use the different coloured ink pads to create wonderful backgrounds and stamped images!

You can also follow me on these social media accounts:

https://www.facebook.com/houseofillusiondelhi/

https://www.youtube.com/channel/UCNGR6yuGN1tm2HzpwuYQOIA

https://www.instagram.com/thehouseofillusion/


You Are A Pearl

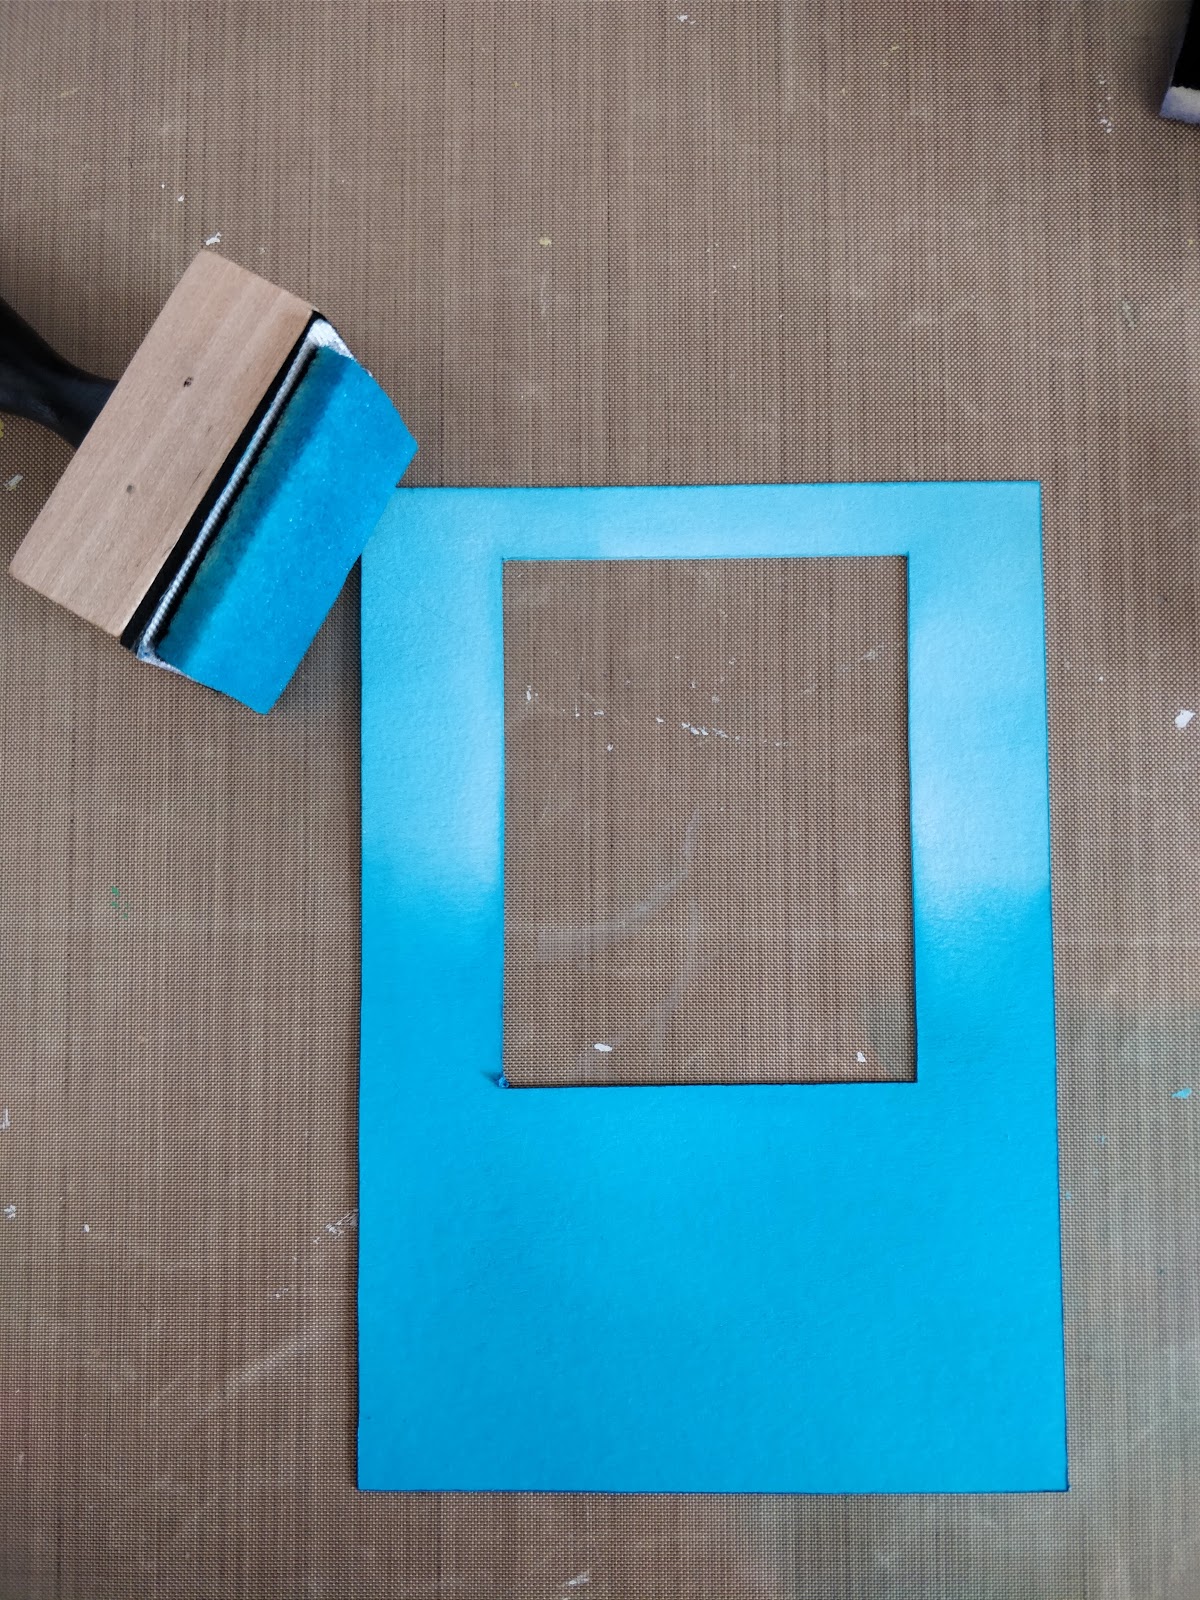
  • Cut out a small rectangular window on a piece of white cardstock, 270 GSM.
  • I wanted to give it a "sea theme" hence opted for 2 shades of blue distress inks: Mermaid Lagoon and Broken China.
  • Blend them together by giving a darker shade at the bottom and lighter shade at the top.


  • Sprint some small water droplets on the card and immediately lift it with a cloth/paper towel, to give it the bleached effect.
  • Stamp the sea shells with Tubby Craft Ink- Sapphire Blue at the base. 


  • For the base card, cover it with Cracked Pistashio Distress ink.
  • Position the Pearl stamp along with the sentiment and stamp it using Tubby Craft Ink- Jet Black.
  • Adding the window just gives your project some more dimension and 3D effect :D


  • Foam mount the pieces...and you have a beautiful sea themed card.
  • This will be a perfect card to gift your mother this Woman Day! :D


Products used: 
1. White coloured cardstock of 270 GSM
2. Distress inks: Mermaid lagoon, cracked pistachio, broken China.
3. Stamp set form Tubby craft.
4. Black archival ink.

Hope you liked this pearl card.

Do share and comment.
Thank you
Like always...keep crafting <3 

Comments

  1. Wow...lovely card tutorial

    Hugs

    Rituparna

    ReplyDelete
  2. Very detailed and easy tutorial to make such a lovely card....thanks for sharing

    ReplyDelete
  3. Wow so beautiful Devika ... Loved the sea effect you have given👌👌👌👌👌👌💕

    ReplyDelete

Post a Comment

Popular posts from this blog

Autumn Florals

Namaste crafty people! :D Let's welcome the Autumn season with a pretty floral card! I am not really a floral person BUT THIS "Floral wishes" stamp set by Craftyscrappers has made me fallen in love with florals.. i am not kidding :) It is designed very intricately with perfect and crisp detailing! Watercolouring these images is just pure fun..I actually stamped tons of them and made a DIY watercolour booklet for myself :p If you like my work, you can also follow me on these social media accounts: https://www.facebook.com/houseofillusiondelhi/ https://www.youtube.com/channel/UCNGR6yuGN1tm2HzpwuYQOIA https://www.instagram.com/thehouseofillusion Autumn florals Take a sheet of White cardstock from Craftyscrappers. Stamp the floral images using Black archival ink pad and a stamping platform. Colour the images with any medium you want, I personally love colouring with Distress inks so I coloured the flowers with the inks. Distress inks us...

Gift tag with embossing powder and versamark ink

Hello crafty people! :D Today I will showcase how to create magical gift tags using embossing powders. You can also follow me on these social media accounts: https://www.facebook.com/houseofillusiondelhi/ https://www.youtube.com/channel/UCNGR6yuGN1tm2HzpwuYQOIA https://www.instagram.com/thehouseofillusion/ Dreamy gift tags Take white coloured cardstock tags. Cover it with anti static powder. Stamp the "Follow your dreams" stamp with Versmark ink. Put "Buttercup embossing powder" by Ranger over the stamped image. Colour it with Hot pink Tubby craft ink pad. The embossed powder will resist the ink and keep it's colour thus giving it a 3D effect. To give a vintage look, put Chocolate Brown ink on the sides with the finger daubers/blending foam. I repeated the same step for the other 3 tags. 2nd tag:  Embossing  powder: Clear. Ink: Juicy Orange and Lavender Violet. 3rd tag: Embossing powder: Blue. Ink: Yellow 4th tag: Embossing powde...

Starry love decor hanging- mixed media shaker dome

Hello crafters! Devika Gujral here..today I am on Madras Bazaar s blog with a fun, shaker project which can be hung me your car or room! If you like my work, you can also follow me on these social media accounts: https://www.facebook.com/houseofillusiondelhi/ https://www.youtube.com/channel/UCNGR6yuGN1tm2HzpwuYQOIA https://www.instagram.com/thehouseofillusion STARRY LOVE Take the dome and paint it with Mod podge Sheer Aqua. (If you don't have it, you can use any glass paint) Apply 2 coats of it with the sponge, allowing 1-2 hours between each coat. Take the LOVE chipboard sentiment by Mudra, paint it red and adhere it with "love" word upwards, inside the dome with the help of double adhesive tape. Cut very small thin tape, just to cover the chipboard on the edges or else the shaker elements will stick to it if there is any excess tape left. After drying, the dome will look translucent as this mod podge sheer pain...