
THE BUDDHA NAME PLATE:


- Hello crafty people! :D
Devika here and today I will my favourite project till now..the 2step crackle name plate. This post will help you to get lovely cracks on your project.
- You can also follow me on these social media accounts:
https://www.facebook.com/houseofillusiondelhi/
https://www.youtube.com/channel/UCNGR6yuGN1tm2HzpwuYQOIA
https://www.instagram.com/thehouseofillusion/
LET'S GET STARTED: - Sand the mdf name plate surface with a #80 no. sandpaper.
- Prime it by applying 2 layers of Gesso. (allowing 15-20 min to dry between the 2 coats)
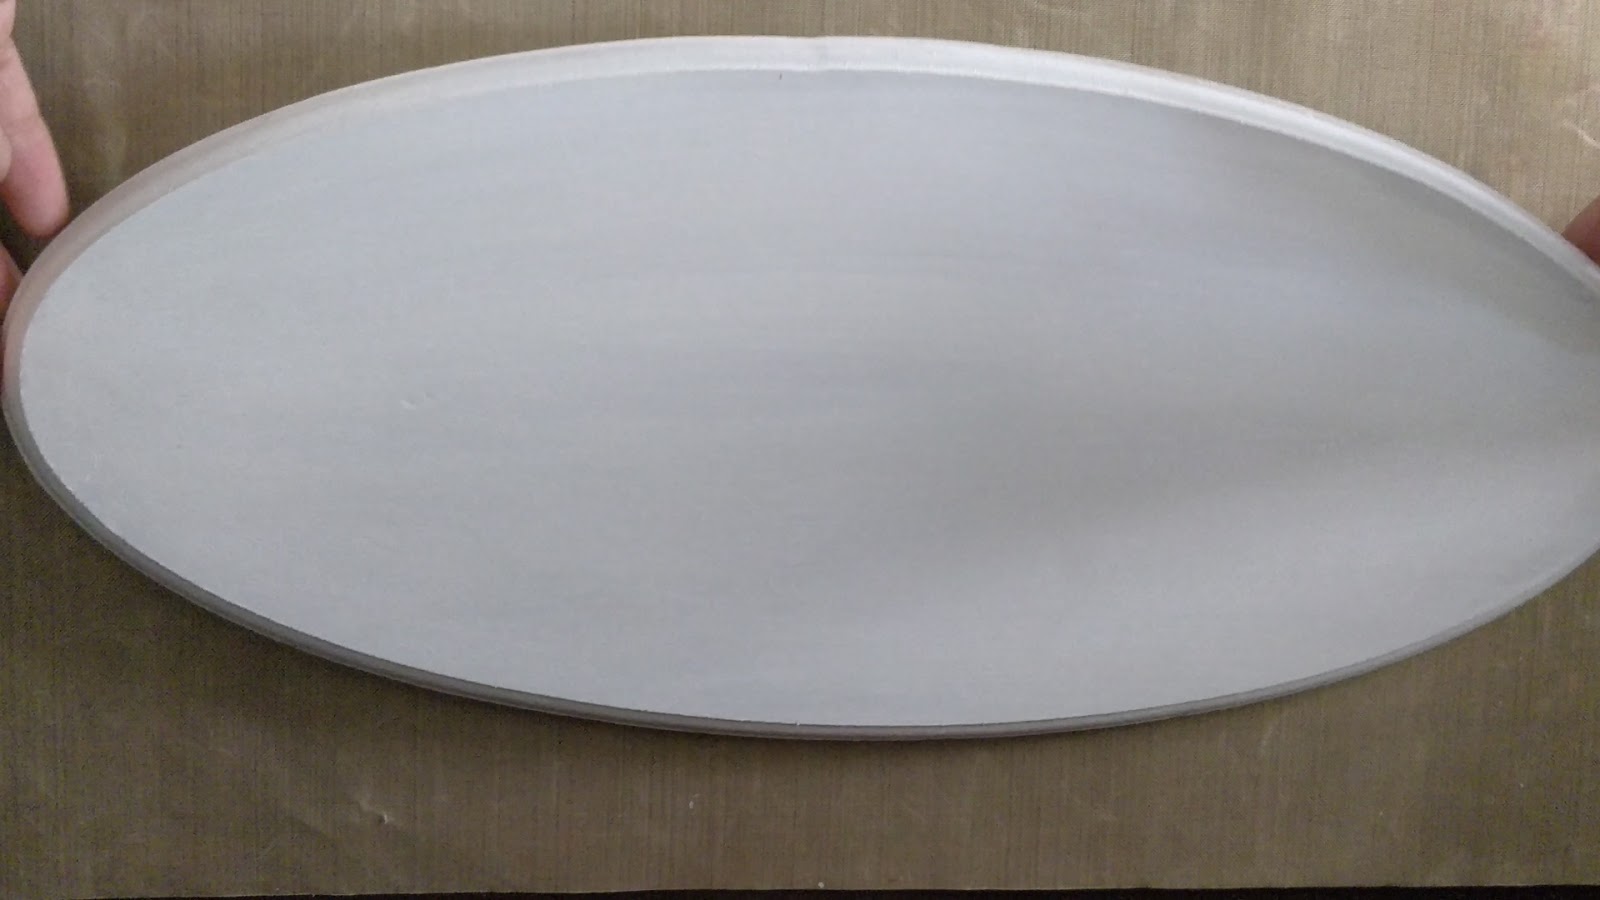
- Paint the base with white chalk/acrylic. Let it dry.
- Remove 2 layers of the napkin and use the top most layer.
- Tear the relevant Buddha and floral design with water and paint brush.

- Apply a thin layer of mod podge at the base and put the napkin on top. (If you are a beginner, then please do this step with a small portion at a time)

- Dab it with a dry sponge and use the plastic wrap to remove the air bubbles.
- Put a thin layer of mod podge on top of the design.
- When the mod podge dries, sand the excess napkin (with #80 no sandpaper).


- Put one last layer of mod podge.
- Apply the base coat of Itsy Bitsy’s 2 step crackle medium on the area of the name plate which isn’t decoupaged.

- Let it dry completely naturally.
- When dry, put the top coat of the crackle medium. Let it dry naturally.

- Cracks will appear when it dries.

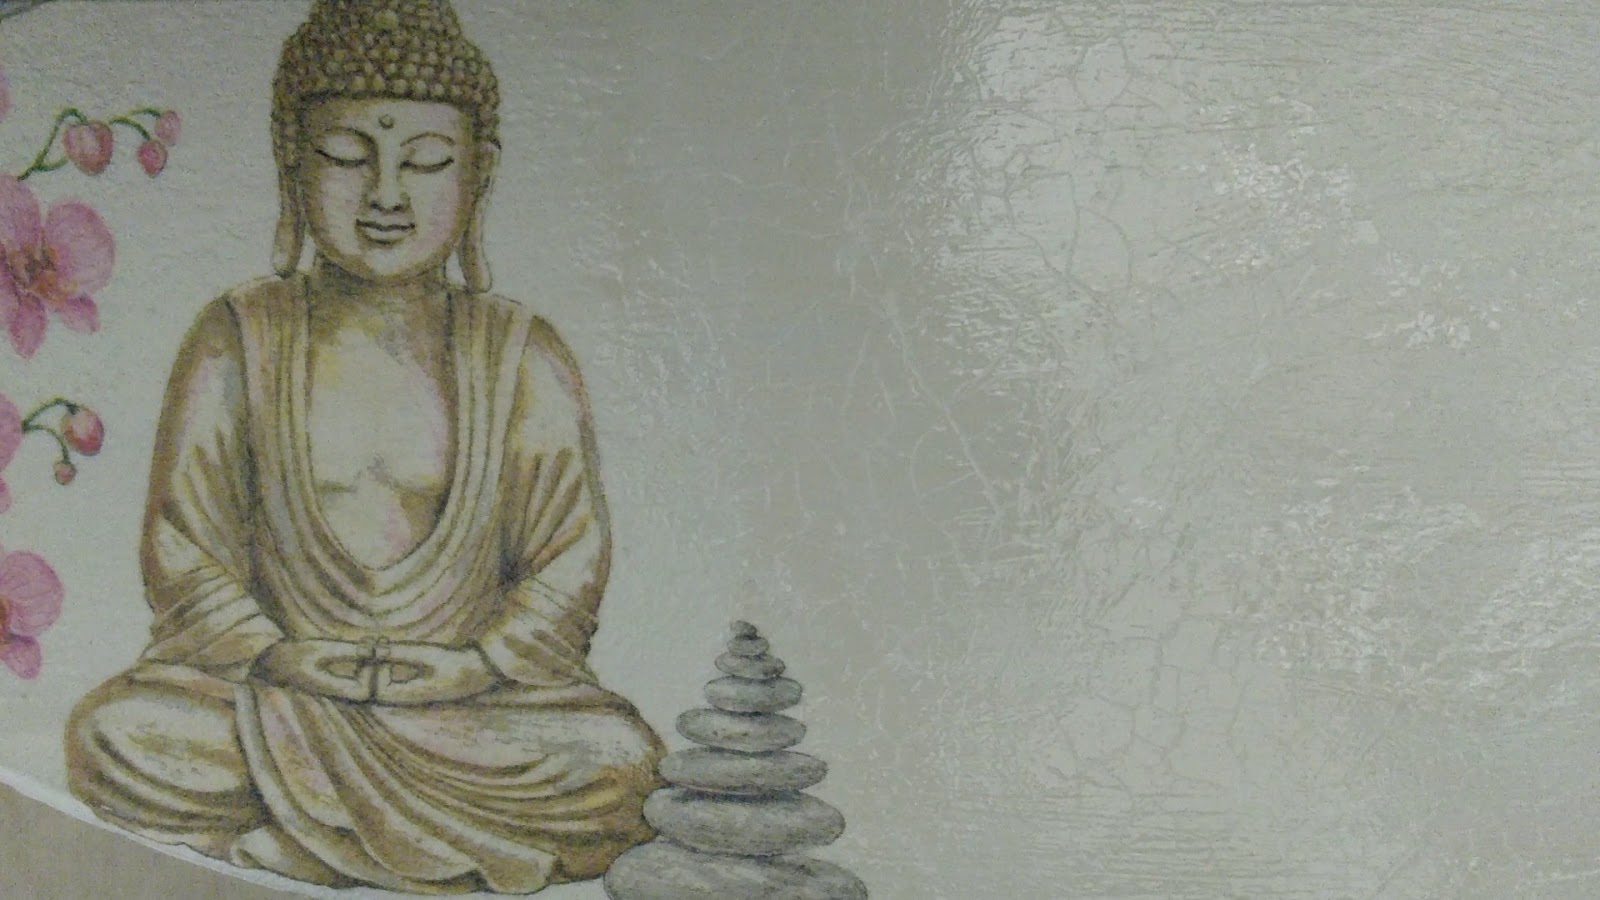
- Highlight the cracks with Home decor Antique Wax, covering very small portions at a time.
- Remove the excess wax at the same time with a paper towel or else it will settle and wont come out later! THIS IS A VERY IMPORTANT STEP.


- Paint the alphabets with black chalk/acrylic paint and adhere them with Monte marte glue.
- Mix Itsy Bitsy resin and hardener in the proportion as mentioned on the pack i.e. 1:1 ratio and put it on the complete name plate.
- Let it cure overnight and you have a waterproof outdoor name plate ready!!
Loved your step by step explanation....
ReplyDeleteThank you :)
DeleteAwesome explanation Devika ♥️
ReplyDeleteThanks Smita :)
DeleteWow,lovely creation & very well explained Devika!
ReplyDeleteThank you so much Rashmi.
DeleteYour products are lovely to work with! :)
Wow...wonderful tutorial
ReplyDeleteHugs
Rituparna
Thank you :)
DeleteWell explained
ReplyDeleteThank you :)
DeleteWowwww
ReplyDeleteLove the effect
Wowwww
ReplyDeleteLove the effect
Thanks for the high quality and results-oriented content. You can also read our blog : Wooden nameplate
ReplyDelete