
Outline image, heat emboss and ink blending

Hello crafty people!
Devika Gujral here.
In today's post I will show you how to use just the outline stamp to make a CAS card :)
This stamp set, Birthday Flutters from Craftyscrappers is absolutely pretty and wonderful for outline stamping and generation stamping as well!

If you like my work, you can also follow me on these social media accounts:

https://www.facebook.com/houseofillusiondelhi/
https://www.youtube.com/channel/UCNGR6yuGN1tm2HzpwuYQOIA


CARD: Birthday Flutters


  • Take a piece of pre folded 270-300 GSM White Cardstock.
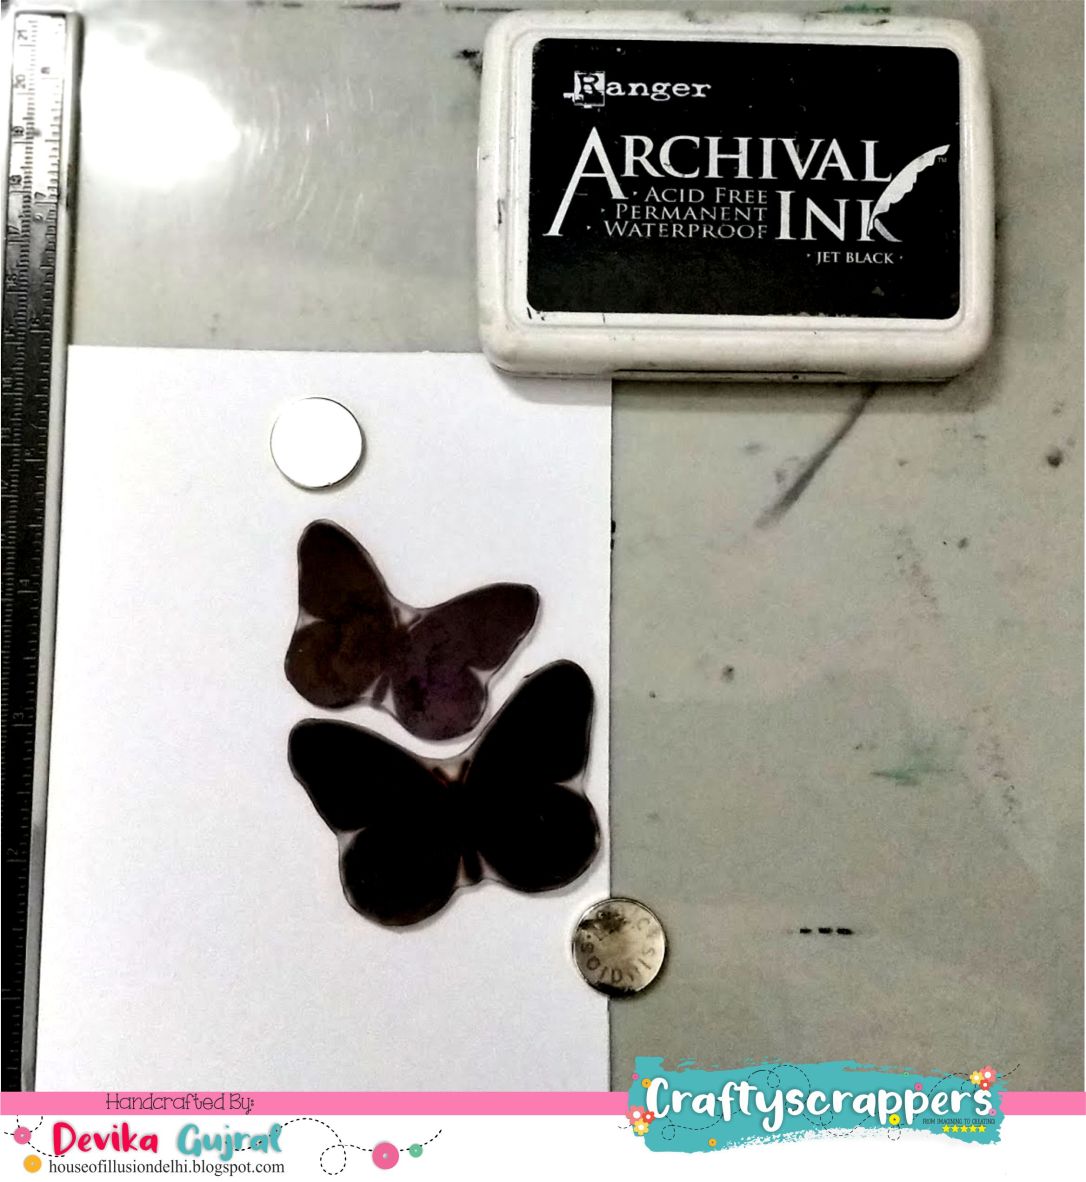
  • Stamp the outline, solid butterfly image from the Birthday Flutters Craftyscrappers stamp set using Black Archival ink.
  • Heat emboss it with Clear White embossing powder.
  • Mask the top and bottom portion of the card..I purposely masked off a tiny portion of both butterflies as well.
  • Take the distress inks- Spiced mermalade, Wilted violet and Picked Rashberry and apply them heavily with the blending tool.
  • First apply Spiced mermalade at the bottom, wilted violet at the top and then use Picked Rashberry to blend both the inks.

  • Sprintz some water to get the bleached look.
  • Remove the masking tape.

  • Stamp the Ribbon and the sentiment with Black archival ink.
  • I made a matching envelope by stamping the solid image of the Butterfly with red and orange archival ink.


Hope you liked the card!
Thanks for stopping by!
Until we meet next time, happy crafting <3 
Love, 
Devika Gujral.

Supplies used:
  • White cardstock 270-300 GSM
  • White envelope.
  • Black, orange and red archival ink.
  • Craftyscrapper stamp set - Birthday Flutters.
  • Ranger Clear embossing powder
  • Distress inks: Spiced mermalade, Wilted violet and Picket Rashberry
  • Blending tools.

Comments

Post a Comment

Popular posts from this blog

Christmas tree ornaments

Namaste crafters! It's December..so it's all about Christmas! Today I am on Craftyscrappers blog showing how to create shimmery, christmas-y tree ornaments with the newly launched shimmer pastes. Take the mdf cut outs of the ornaments. For the Xmas tree I applied the Christmas tree shimmer paste with my finger and applied the Granular paste just at the edges to give me snow effect...this granular paste has to perfect snowy consistency and looks very pretty. Similarly I applied Jungle bells shimmer paste on the star ornament, stamped, coloured and fussy cut the reindeer from "let it snow" stamp set and foam mounted it in the middle. For the stocking, I applied Poinsettle shimmer paste and sprinkled Summer mango and It's a boy sequins on it while it was wet and lightly dabbed it so that it gets embedded into the paste. For the reindeer I mixed the Pinewood and jingle bells shimmer paste and applied it on the surface. I stamped ...

Autumn Florals

Namaste crafty people! :D Let's welcome the Autumn season with a pretty floral card! I am not really a floral person BUT THIS "Floral wishes" stamp set by Craftyscrappers has made me fallen in love with florals.. i am not kidding :) It is designed very intricately with perfect and crisp detailing! Watercolouring these images is just pure fun..I actually stamped tons of them and made a DIY watercolour booklet for myself :p If you like my work, you can also follow me on these social media accounts: https://www.facebook.com/houseofillusiondelhi/ https://www.youtube.com/channel/UCNGR6yuGN1tm2HzpwuYQOIA https://www.instagram.com/thehouseofillusion Autumn florals Take a sheet of White cardstock from Craftyscrappers. Stamp the floral images using Black archival ink pad and a stamping platform. Colour the images with any medium you want, I personally love colouring with Distress inks so I coloured the flowers with the inks. Distress inks us...

How to Colour & Stencil using dye ink pads.

Please follow me on: FB: https://www.facebook.com/houseofillusiondelhi/ INSTAGRAM: https://www.instagram.com/thehouseofillusion/ BLOG: https://houseofillusiondelhi.blogspot.com/?m=1 YOUTUBE: https://www.youtube.com/channel/UCNGR6yuGN1tm2HzpwuYQOIA Namaste Crafters! Check out the video to learn how to make a colourful card using Dye Ink Pads to colour the stamped image and Stenciling with the ink. I am the design team member of Mudra Craft stamps and today I will show you how to create this pretty card using it's stencil, stamp and the newly launched ink pads! Take a piece of heavyweight white cardstock and stamp the image from the Floral live stamp set using Black ink. You can use Mai s jet black ink pad also to stamp which I will show you later. I will need colour the stamp set using their newly launched dye ink pads. Yes! You can use these inks to colour as well..isn't that so cool! Smoosh the Tangerine orange ink pad on the craft sheet an...